Bài 2: Chớp tắt LED trên Arduino Uno (Phần 2)
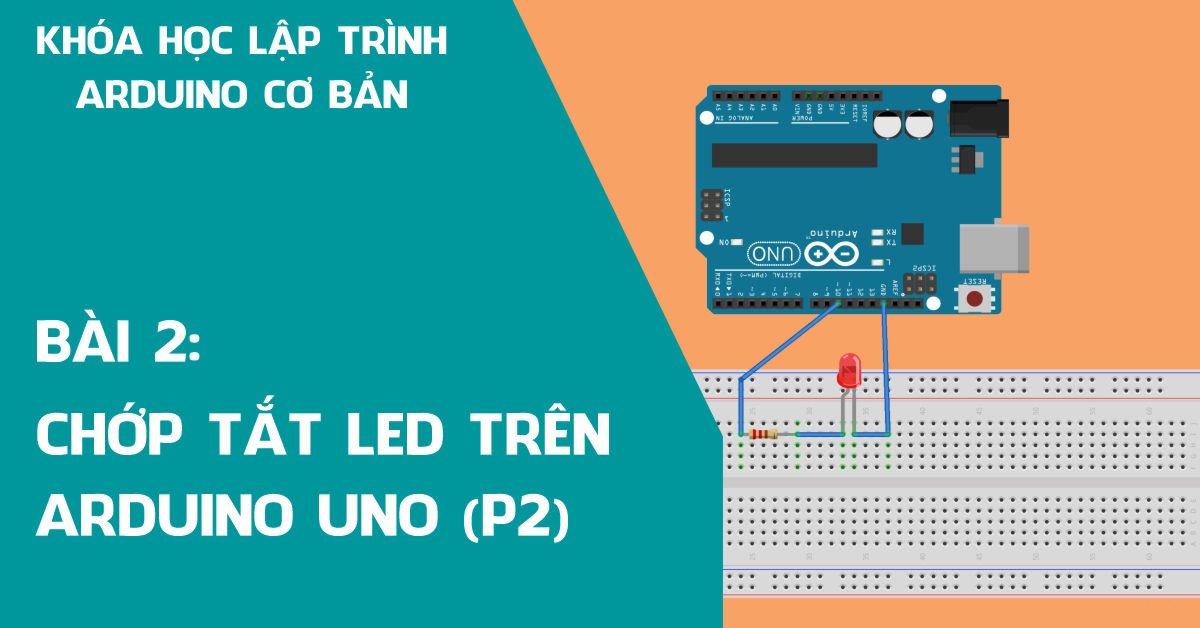
Tiếp tục Bài 1 trong bài hôm nay chúng ta sẽ cùng nhau học cách sử dụng vòng lặp for và các toán tử so sánh để có thể chớp tắt LED trên Arduino Uno một cách dễ dàng và có điều kiện.
Code
Example 1
//The first project -- S.O.S signal

int ledPin = 10;

void setup() {
  pinMode(ledPin, OUTPUT);
}

void loop() {
  // 3 quick blinks to represent “S”
  digitalWrite(ledPin,HIGH);
  delay(150);
  digitalWrite(ledPin,LOW);
  delay(100);

  digitalWrite(ledPin,HIGH);
  delay(150);
  digitalWrite(ledPin,LOW);
  delay(100);

  digitalWrite(ledPin,HIGH);
  delay(150);
  digitalWrite(ledPin,LOW);
  delay(100);

  delay(100); //100 milliseconds as a break of each letter

  //3 quick blinks to represent “0”
  digitalWrite(ledPin,HIGH);
  delay(400);
  digitalWrite(ledPin,LOW);
  delay(100);

  digitalWrite(ledPin,HIGH);
  delay(400);
  digitalWrite(ledPin,LOW);
  delay(100);

  digitalWrite(ledPin,HIGH);
  delay(400);
  digitalWrite(ledPin,LOW);
  delay(100);

  delay(100);
  // 100 milliseconds delay between each letter

  //3 quick blinks to represent “S” again
  digitalWrite(ledPin,HIGH);
  delay(150);
  digitalWrite(ledPin,LOW);
  delay(100);

  digitalWrite(ledPin,HIGH);
  delay(150);
  digitalWrite(ledPin,LOW);
  delay(100);

  digitalWrite(ledPin,HIGH);
  delay(150);
  digitalWrite(ledPin,LOW);
  delay(100);

  delay(5000); // wait 5 seconds to repeat the next S.O.S.Sssigignnaal
}
Trong ví dụ 1 mình chia chương trình thành 3 khối để thực hiện nháy LED và chương trình được viết khá dài và không logic, công việc bây giờ là làm sao tối ưu chương trình trên. Mình đã viết thêm một đoạn tối ưu hơn các bạn xem ở ví dụ 2.
Example 2
/*
   SOS Beacon
*/
int ledPin = 10;
void setup() {
        pinMode(ledPin, OUTPUT);
}
void loop() {
       // S (...) three dot represents "S".
       for(int x=0;x<3;x++){
        digitalWrite(ledPin,HIGH);            // turn the LED on (HIGH is the voltage level)
        delay(150);                           // wait for 150ms
        digitalWrite(ledPin,LOW);             // turn the LED off by making the voltage LOW
        delay(100);                           // wait for 100ms
        }

        // wait for 100ms
        delay(100);

        //O(---) three dash represents "O".
       for(int x=0;x<3;x++){
        digitalWrite(ledPin,HIGH);            // turn the LED on (HIGH is the voltage level)
        delay(400);                           // wait for 400ms
        digitalWrite(ledPin,LOW);             // turn the LED off by making the voltage LOW
        delay(100);                           // wait for 100ms
        }

        // wait for 100ms
        delay(100);

       // S (...) three dot represents "S".
       for(int x=0;x<3;x++){
        digitalWrite(ledPin,HIGH);            // turn the LED on (HIGH is the voltage level)
        delay(150);                           // wait for 150ms
        digitalWrite(ledPin,LOW);             // turn the LED off by making the voltage LOW
        delay(100);                           // wait for 100ms
        }

        // wait for 5s
        delay(5000);
}
Vòng lặp for
Vòng lặp for là một cấu trúc điều khiển lặp đi lặp lại cho phép bạn viết một vòng lặp một cách hiệu quả, khi cần thực hiện trong một khoảng thời gian cụ thể nào đó.
       for(int x=0;x<3;x++){
        digitalWrite(ledPin,HIGH);            // turn the LED on (HIGH is the voltage level)
        delay(150);                           // wait for 150ms
        digitalWrite(ledPin,LOW);             // turn the LED off by making the voltage LOW
        delay(100);                           // wait for 100ms
       }
Cú pháp của vòng lặp for
       for(bien ; dieu_kien ; tang_giam){
cac_lenh;}
Quy trình thực hiện
Bước 1: Khởi tạo giá trị biến x = 0
Bước 2: Kiểm tra điều kiện x < 3.
Bước 3: Nếu điều kiện thỏa mãn thì thực hiện các câu lệnh.
Bước 4: Giá trị tăng lên x = 2.
Bước 5: Lặp lại bước 2.
Bước 6: Lặp lại bước 3.
Cho đến khi x = 3, không còn thỏa mãn điều kiện x < 3 thì chương trình sẽ bỏ qua các câu lệnh và thực hiện các đoạn mã tiếp theo.
Ở đây mình đặt điều kiện x < 3 có nghĩa là sẽ lặp lại 3 lần. Tính từ 0 đến 2.
Toán tử so sánh
Các toán tử so sánh thường được sử dụng với các lệnh điều kiện trong chương trình.
== (so sánh bằng)
!= (khác bằng)
< (bé hơn)
> (lớn hơn)
<= (bé hơn hoặc bằng)
>= (lớn hơn hoặc bằng)
Tổng kết
Qua bài 2 chúng ta biết thêm cách thức thực hiện của vòng lặp for và sử dụng các toán tử so sánh trong chương trình. Các bạn nhớ để lại comment góp ý để mình có thể hoàn thiện bài viết tốt hơn.
Tài liệu
Code mẫu: Bài 2: Chớp tắt LED (Phần 2)
Chúc các bạn thành công!
Trân trọng.

